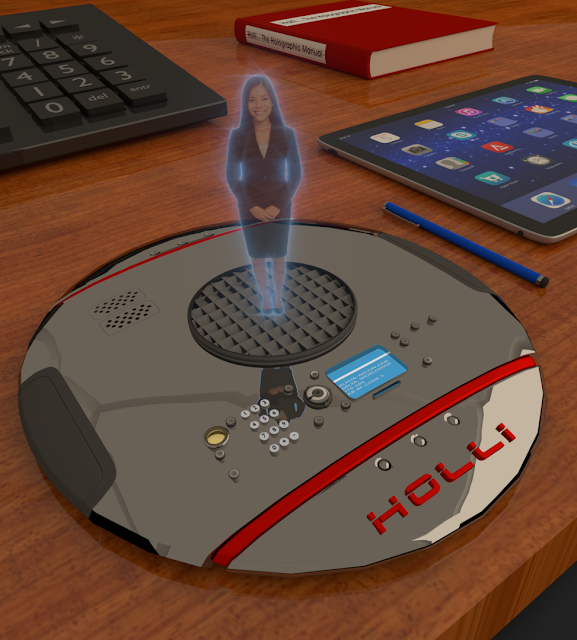
I've been wanting to get this post out for the last couple of weeks to kick off the new year with another video tutorial and this one is a good one. I call it the "Holli Project" which is my idea of a holographic device that I created an image of using Blender 3D software.
I liked what I managed to create here in Blender so I thought I would pass along my learning experience to all you Blender users to show you how I put it together.
Here is part one of the video tutorial for the "Holli Project". I had to split it into two videos as it got to be to large to set up as just one.
Here is part two of the "Holli Project". Both videos will walk through the process of creating the holographic lady that is shown in the first picture in this post. The first video is around 20 minutes long and the second is 16 minutes in length.
Click on the images for a larger view
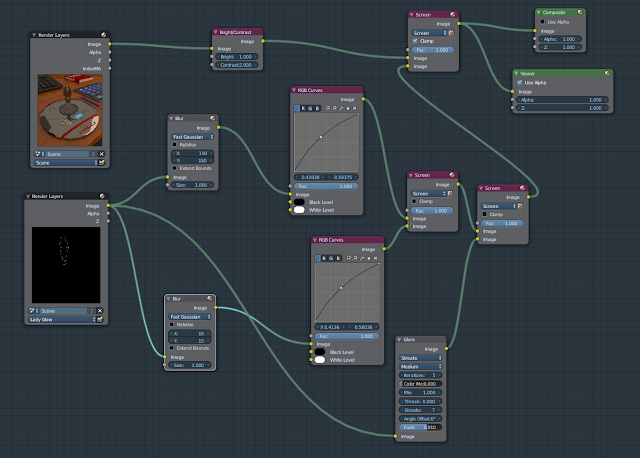
Here I've included images of the node setups that are used in the video tutorials. The image above is the nodes that are used in the compositor to combine two scenes into one image. Once scene for "Holli" to make here glow and another for everything else. Just follow along in the video and it will make more sense. It took me awhile to figure all of this out but after you get into it the fog begins to clear and starts to make sense. Again watching the videos help a lot.
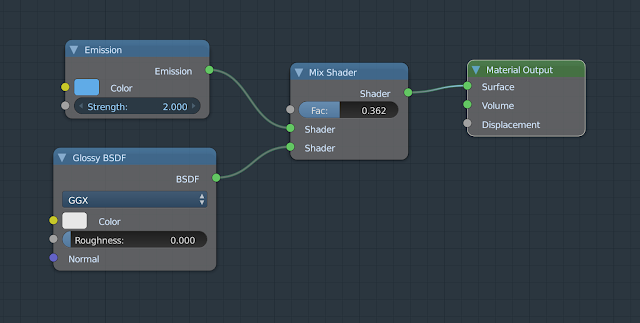
The image above is the node setup to make "Holli" glow. A simple node setup compared to the compositing node setup.
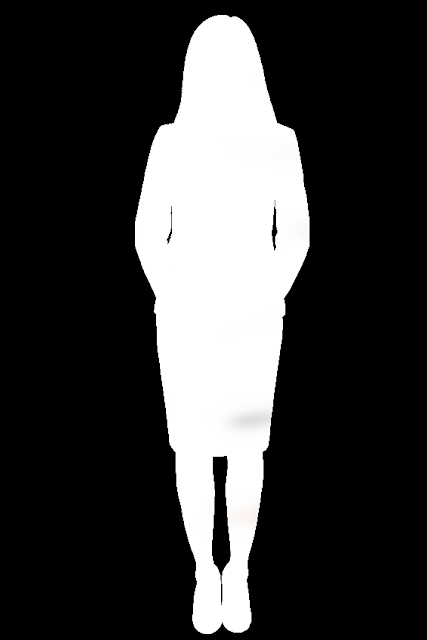
Lastly here is the note setup to get "Holli" to be seen only by herself without any border or background around here. Without this it would not look correct in the Blender render when it was completed.
In the first video I talk about taking a photo of a lady (seen above) and converting it to a black background for the project. I was fortunate enough to find this image with a white background and then do the conversion. But after doing this I realized that a lot of people would not have this image or may have an image that has a background that they want to remove. So I tracked down the link below online to show you how to remove a background for this project or something similar using Gimp. Gimp by the way is a free photo editing software that is similar to Photoshop. Again being free works for me anytime and you can download it online.
Here is what you'll create in Blender from the video tutorials I put together. The first image is like the original only with a black background and the second is what is called an "Alpha Mask". Without this second image it would not be possible to create what the final Blender render looks like. So if you find some interest in this type of Blender project follow along using the video tutorials as I took it nice and slow so it's easy to make what I created. Hope you enjoy using them for you next Blender 3D project. You'll learn some new things along the way that will be handy for many other Blender projects. Enjoy!


No comments:
Post a Comment