Most of you who follow my blog have seen all of the progress and problems that I have encountered with my Captain America Ball chair project. This has been a very long and sometimes trying endeavor which has been both frustrating and challenging all at the same time. I had to step away from the project for a bit to just catch my breath and not think about it for a while to be able to get a new perspective of the project and feel like pushing my skills further to get through it all. So I am happy to report I am once again making progress with this large project.

In order to paint the large parts of the ball I first needed to set up a temporary paint booth in my garage. This was done using PVC connectors and pipe which I then wrapped in clear plastic with duct tape. The enclosure has a door opening on one side to be able to get in and out of the "Paint booth" and is 9' x 9' x 7 1/2' in size.

Here is the first piece in the paint booth ready for it's second coat of paint. This part looks quite small in such a large space but the larger pieces of the chair will give me lots of room to walk around to paint the parts.

Here are three of the six parts that I have already or should I say almost have completed. The white dome at the center rear of the picture is the dome of the chair where the star will be painted for the Captain America ball chair. I want the white paint to cure for at least a week before I try and tape it off for the blue field that will give me the completed star. The other two pieces make up the base for the chair.
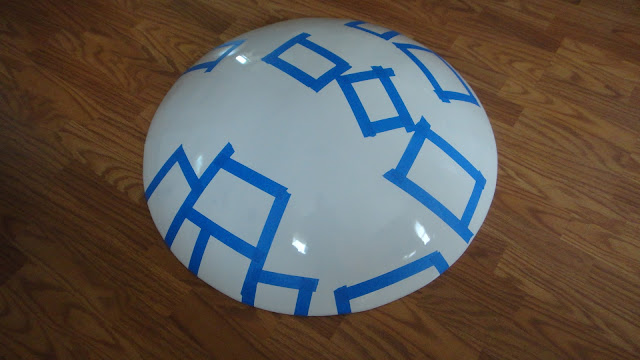
Here is a photo of the white dome before I put the last coat of white paint on it. All the blue squares are the areas on the dome with flaws that I found with my first attempt at painting this piece. The dome looks perfect in the picture but you had to see it up close and personal to see the flaws. I try to get the best paint job I can so I get fussy with the little things I find wrong with it. So touch up was the order of the day.

Here is a photo of the white dome before I put the last coat of white paint on it. All the blue squares are the areas on the dome with flaws that I found with my first attempt at painting this piece. The dome looks perfect in the picture but you had to see it up close and personal to see the flaws. I try to get the best paint job I can so I get fussy with the little things I find wrong with it. So touch up was the order of the day.

This is a good shot of the first large piece that is inside the paint booth ready for paint. You can see why I also laid down a good covering of plastic on the floor of the paint booth from all of the over spray from the first parts. I also had to figure out how to get this part up off of the floor. With a couple of good sized boxes and some 2 x 2's I got it where I needed it so that I could paint it easier.
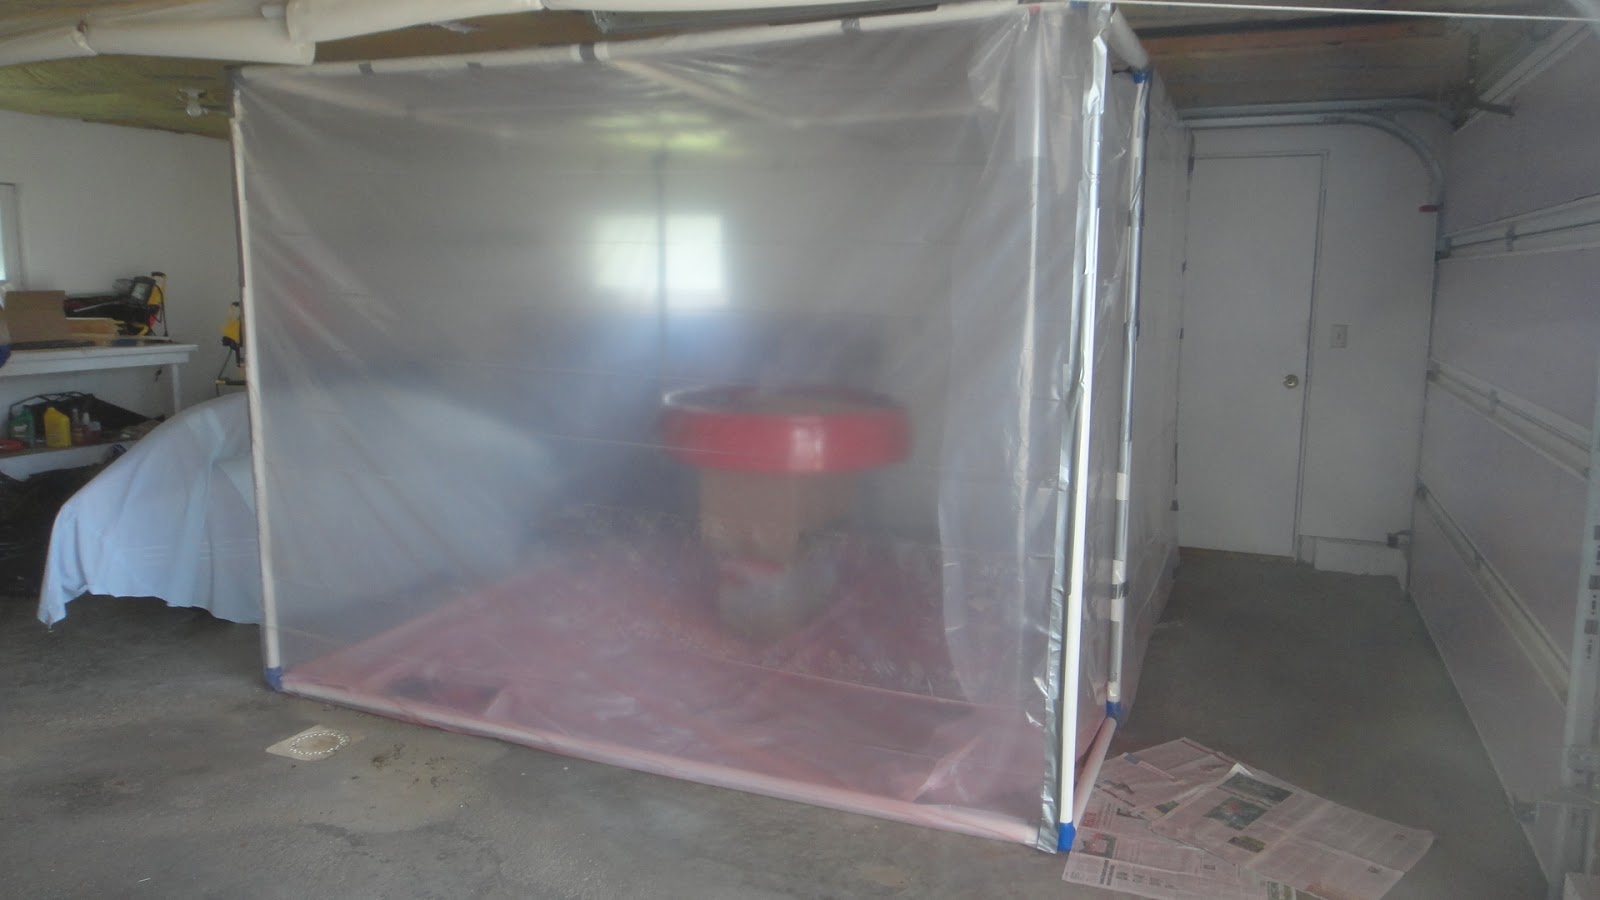
Again another shot from the outside. Now the booth looks and is the right size for the job. Getting my car out of the garage was a must just to be on the safe side while spray painting. I also used a good respirator so I could breath a lot easier. The only problem with using the booth is that I found it to be just a bit warmer that I would have liked it to be. Luckily I was never in it more than 10 minutes or so.

Here's how one of the larger parts of the chair turned out. I still want to give it another couple of coats of paint but I will wait for at least a week for this paint to cure so I will not have any issues with the dreaded "Orange Peel" effect when you paint to soon after the first coats have been laid down. Been there and it's not fun to fix. I have a few little paint errors in this piece but nothing major so it will be an easy correction before I apply the next couple of coats of paint to finish the part.
I only have two more large pieces of the ball chair to prep for paint and then I can get those painted before I get into the final assembly of the project. It will be good to finally have this project done.
So with this posing the best lesson I can pass on to anyone that is having problems with their project is to just step away from it for a while when you encounter problems that are driving you crazy. I know that to be true after letting it sit for a while myself Now I feel more like getting back into it again and pushing forward to completing this big Captain America ball chair project. I'll post more when I get all the parts painted and I get into the final assembly. Have a good day in your shop. With my painting progress today mine has shaped up to be a very good day. Enjoy the photos.