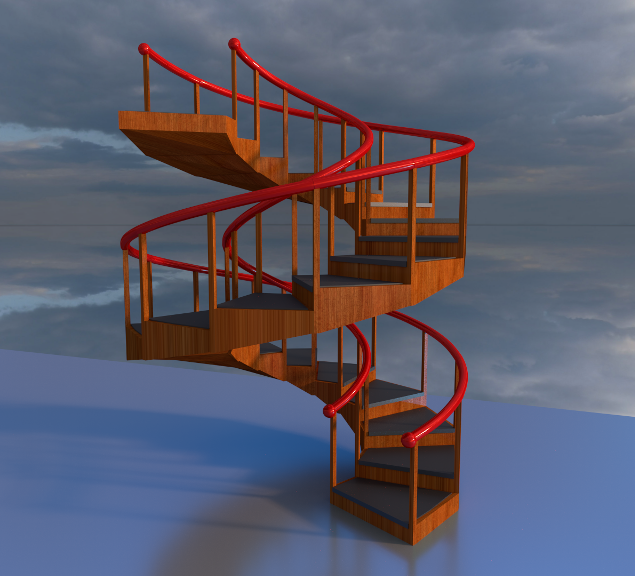
While waiting for parts for various projects that I have going on here at the workshop I have no problem finding other things to fill my time. This is the case with the work I need to get done for my Blender class I will be teaching next March. So with all of this in mind I have put together this new in depth tutorial on how to model a staircase in Blender 3D. It will help anyone wanting to learn something new in Blender how to work with Bezier Curves and Arrays. Check it out and let me know what you thoughts are on my latest effort using this great free software.
Blender Staircase Step By Step Instructions......
no pun intended.
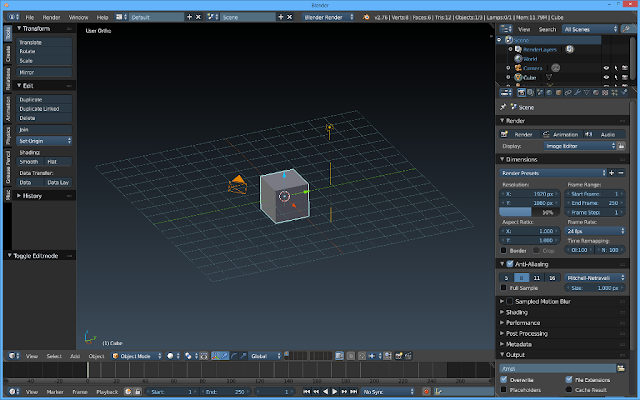
1. Start Blender with standard layout.... Cube, Light, Camera.
2. Press "T" key to
turn off Tools Window as it will not be needed just yet.
3. Press Z key to go to wire
frame view.
4. Enter "Shift C" to get cursor to center of view window. Then Add an Empty (plain axis) (Shift A) to
the center of the layout.
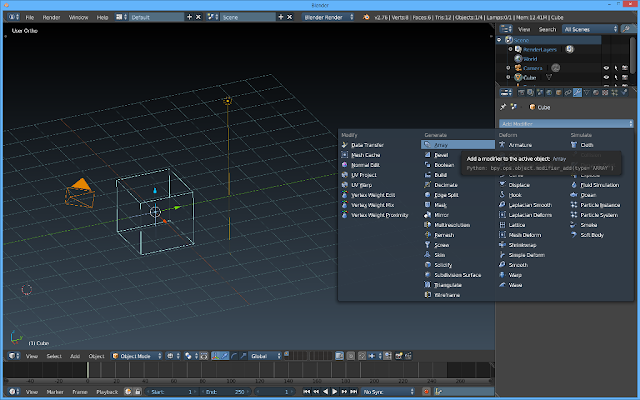
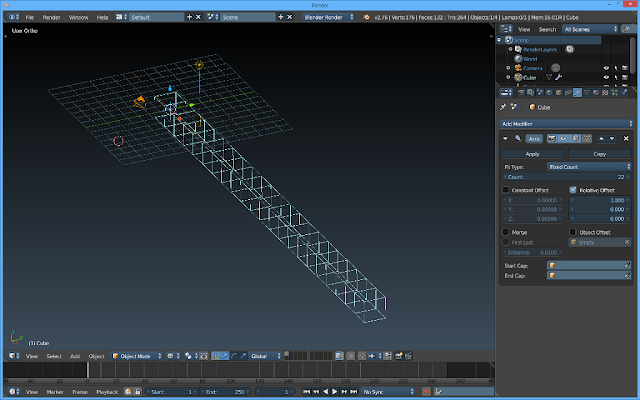
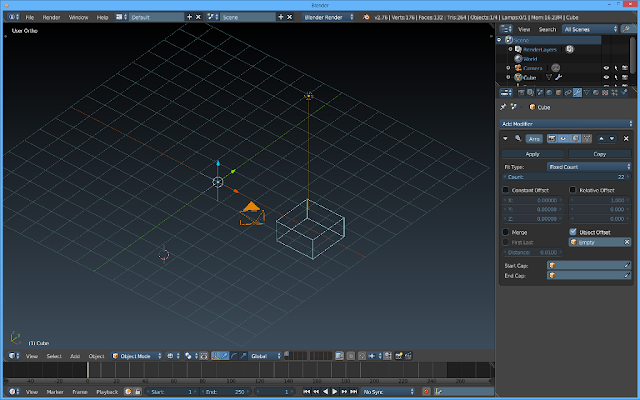
5. Select Cube and add Modifier
Array.
6. Set Fixed Count to 22
7. Deselect Relative Offset
8. Check Object Offset, Select
Empty
9. Press Tab to go to Edit Mode
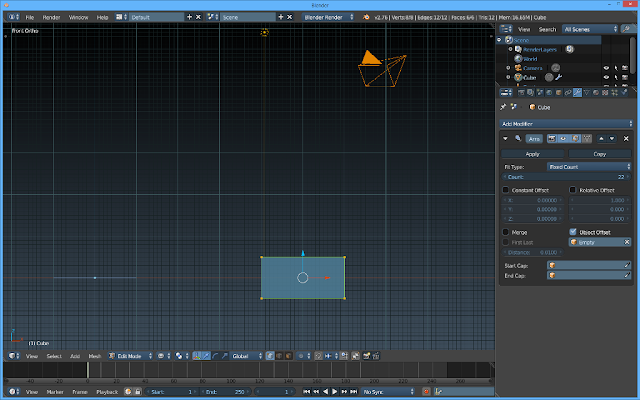
10. Go to front view (1 on
keypad) and move selected Cube 4 squares to the right on X axis
11. Shrink the height of the Cube
down to 10 squares by entering "SZ.5".
12. Press Tab again to go back
to Object Mode
13. Select Empty and set Z
rotation to 27.5 degrees.
14. Set Transform Z location to
1.0
15. Press "7" on
keypad for top view
16. Press "A" key to
deselect vertices of the selected cube.
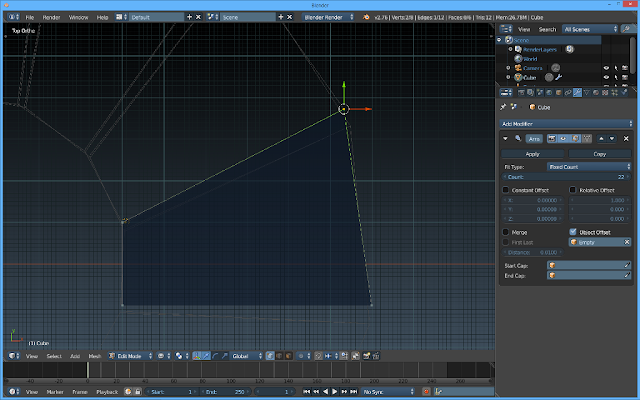
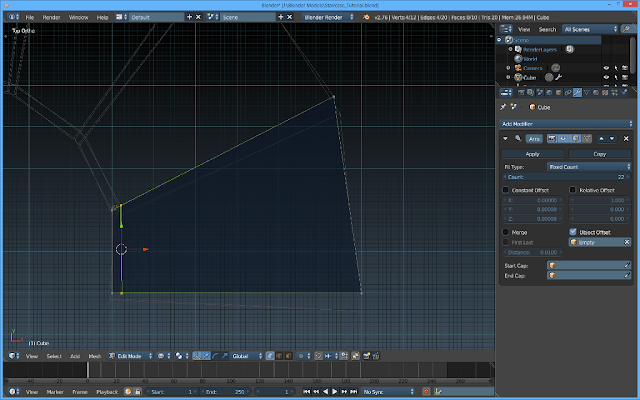
17. Select both right side
vertices of Cube (C key) and move them to the right four squares to make a Step
(G key).
18. Press the "A" key
again to deselect all vertices on the cube.
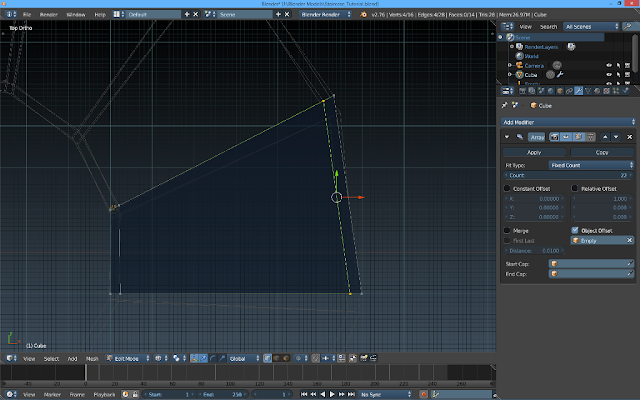
19. Select upper right corner
vertices of Step (C key) and move to lower right corner of second Step (G key).
20. Press the "A" key again to
deselect all vertices on the cube.
21. Rotate view to an isometric
view and press "Z" key to view in Solid Mode.
22. Press "7" on
keypad for top view.
23. Press "Z" key to
view in wireframe.
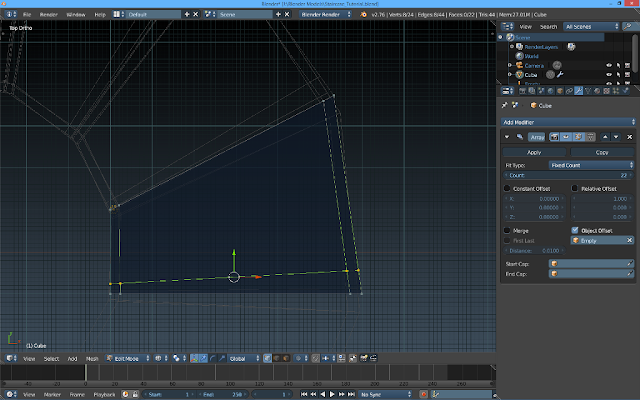
24. Press Ctrl R to create Edge
Loop and move to left side of step as shown.
25. Press Ctrl R again to create
another edge loop to right side of step as shown.
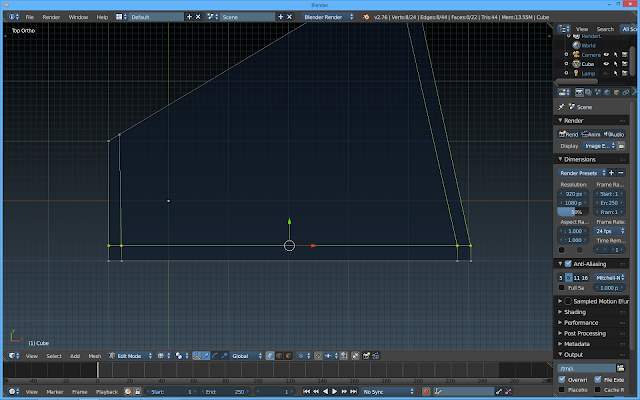
26. Create a horizontal edge loop and drag it near the front edge of the step.
27. Select all vertices on last
edge loop and press S-Y-0 (Size Y Zero) to get all vertices in single line.
28. Adjust vertices in corners
to form squares as shown in image.
29. Press the "A" key
again to deselect all vertices on the step.
30. Rotate view to an isometric
view and press "Z" key to view in Solid shading.
31. Select the four top vertices
on the top left front of the step. (C key)
32. Press "3" on
keypad to go to side view and extrude highlighted vertices to the fifth square
from center line.
33. Press the "A" key
to deselect vertices again.
34. Rotate view to an isometric
view to select the four top vertices on the top right front of the step.
35. Press "3" on
keypad to go to side view and extrude highlighted vertices to the fifth square
from center line.
36. Press the "A" key
to deselect vertices again.
37. Rotate view to an isometric
view to see all the posts now in place on the steps.
38. Press "Tab" key to
switch to Object Mode.
39. Press "7" key on
keypad to go to top view.
40. Press "Shift
C" to get cursor at center of
model.
41. Press "Shift A" to
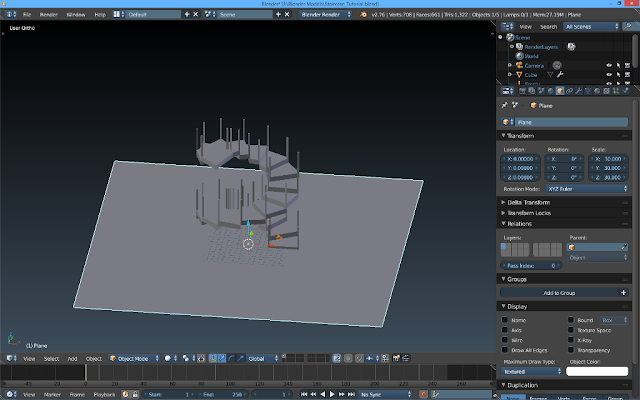
add Mesh Plane.
42. Enter "S 30" to
scale plane up to 30.
43. Press "Z" key to
view wireframe shading.
44. Press "3" on
keypad to see side view.
45. Press "Tab" key to
go to Edit Mode.
46. Press "Z" key to
see Solid shading
47. Select first two vertices on bottom left edge of step.
48. Move "Z" axis arrow (blue arrow) down so that the front bottom edge of the second step lines up with the back bottom edge of the first step as pictured.
49. Select the Mesh plane that
will become the floor for the staircase.
50. Move the Mesh plane down to
match the front bottom edge of the second step of the staircase using the
"Z" axis arrow.
51. Steps and posts are now
done.
Staircase Rail Instructions
1. Select Layer two. Layer one will disappear for now.
2. Enter "Shift C" to
get cursor to center of model.
3. Enter "Shift A" Add
Curve, Bezier.
4. Press "Tab" to go
to Edit Mode.
5. Press "7" on keypad
to go to top view.
6. Enter "R 90" to
rotate Bezier Curve 90 degrees.
7. Enter "A" to
deselect all vertices on Bezier Curve.
8. Enter "C" and
select only the top vertices and handles.
Rotate these so they are aligned vertically with bottom vertices and
handles.
9. Enter "A" key
twice to select all vertices on Bezier Curve.
10. Move the Bezier Curve using
the "G" key to the top of the outer bottom most post.
11. Enter "A" key to
deselect vertices again.
12. Enter "C" key to
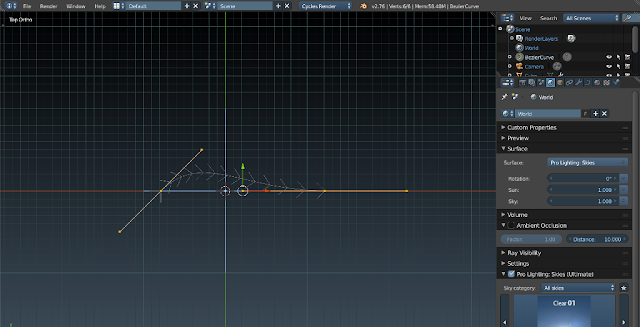
select each vertices and handles at a time to positions shown in image.
Vertices should be centered on front edge of each post.
13. Enter "W" and
subdivide the Bezier Curve to create an additional Vertices and set of handles.
14. Press "Tab" key to
go to Object Mode.
15. Enter "Shift A" to
create "Bezier Circle" by selecting "Curve"
"Circle".
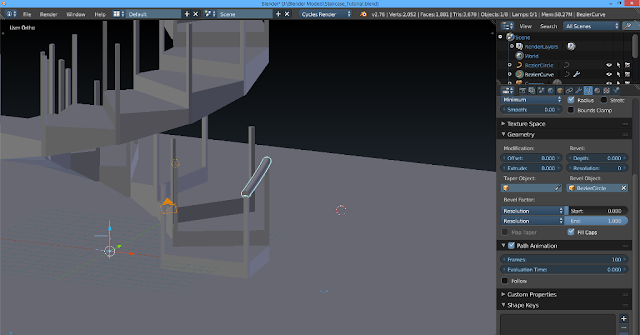
16. Resize new "Bezier
Circle" by pressing "S.30"
17. Select "Bezier
Curve"
18. Select "Object
Data" from right menu.
19. Select "Bezier
Curve" in "Bevel Object" window.
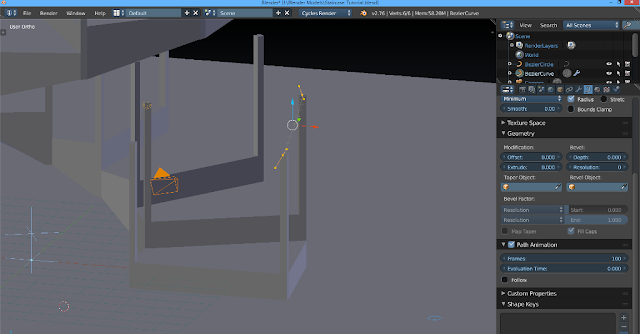
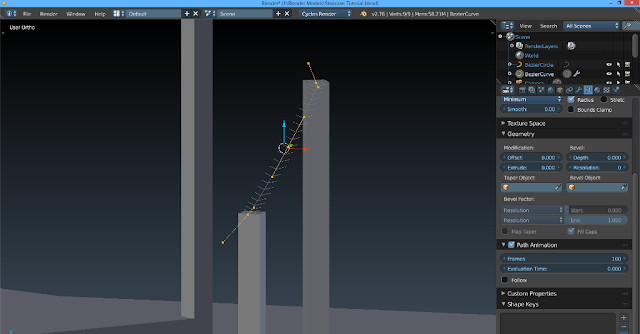
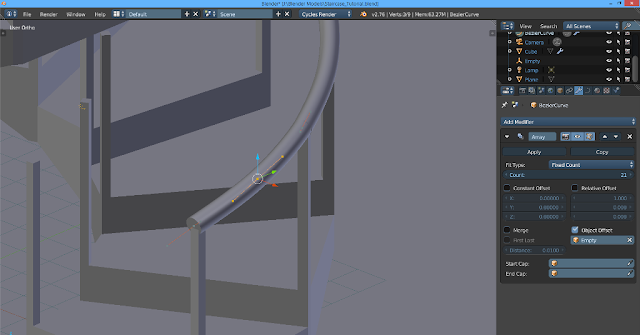
This will create the first portion of the railing for the staircase.
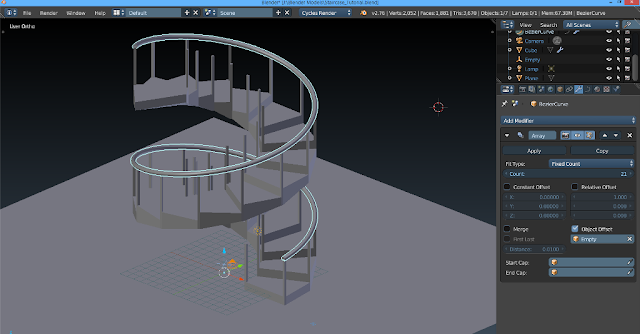
20. Select "Modifiers"
icon, Select "Array".
21. Set "Fit Count"
number to 21.
22. Select "Object
Offset"
23. Select "Empty.
24. Press "Tab" key to
go to Edit Mode.
25. Press "A" key to deselect all vertices in Bezier Curve.
26. Press "C" key and
select center vertices and handles on Bezier Curve
27. Select red arrow (X Axis).
28. Move center vertices in
direction of arrow slightly to smooth out curve in railing.
29. Adjust vertices and handles
to create a smooth transition from one section of railing to the next in the
model.
30. The outer rail is complete
at this point.
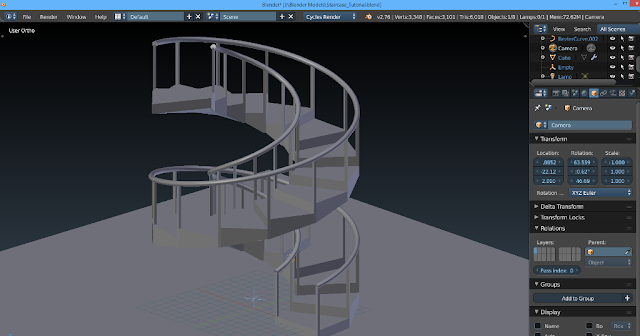
31. To create the inner rail
repeat steps one through thirty in this procedure.
32. Press "T" key to
show Tools window.
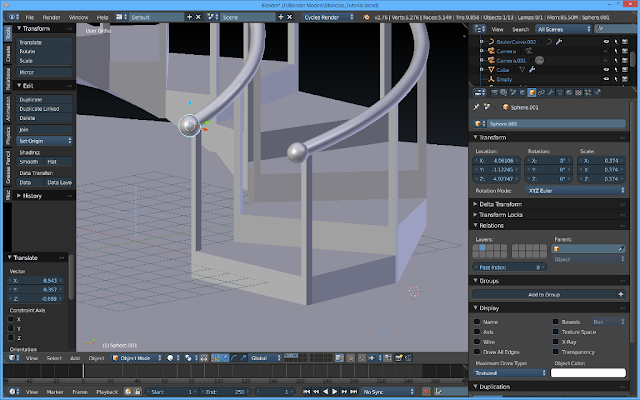
33. Press "Shift A" to
add mesh UV Sphere.
34. In the Tools window select
"Smooth" under "Transform", "Shading" to give the
UV Sphere smooth surface.
35. Scale the UV Sphere down to
fit the end of one of the hand rails as shown in the image. Repeat steps for both lower and upper ends of
the hand rails.
36. Once both railings have been
modeled set up lighting, colors, and or materials of your choice for your completed staircase.
I hope you find this tutorial helpful in your efforts to learn Blender 3D. If you should have any problems with the steps I have here or I have missed something please let me know as I would very much like to make this as simple as possible for everyone. When I get another tutorial put together I'll be sure to post it again so check back soon on this and other projects that I'm working on. Have a good one!















No comments:
Post a Comment